For the second half of skills week, we divided into groups; one half painting a map scene onto wood, and the other half painting a street scene onto a large canvas. I was part of the group painting onto the canvas which I was quite happy about as it looked more challenging and involved more techniques like shading.
Firstly, we had to prime the canvas with a white paint to make sure when we painted the actual scene onto it, we would get accurate colours. After the white primer, we watered down some browns and splashed layers of that over the white to create an interesting surface to work with. The pigments within the paint separated with the water, creating unusual blends of browns and oranges.
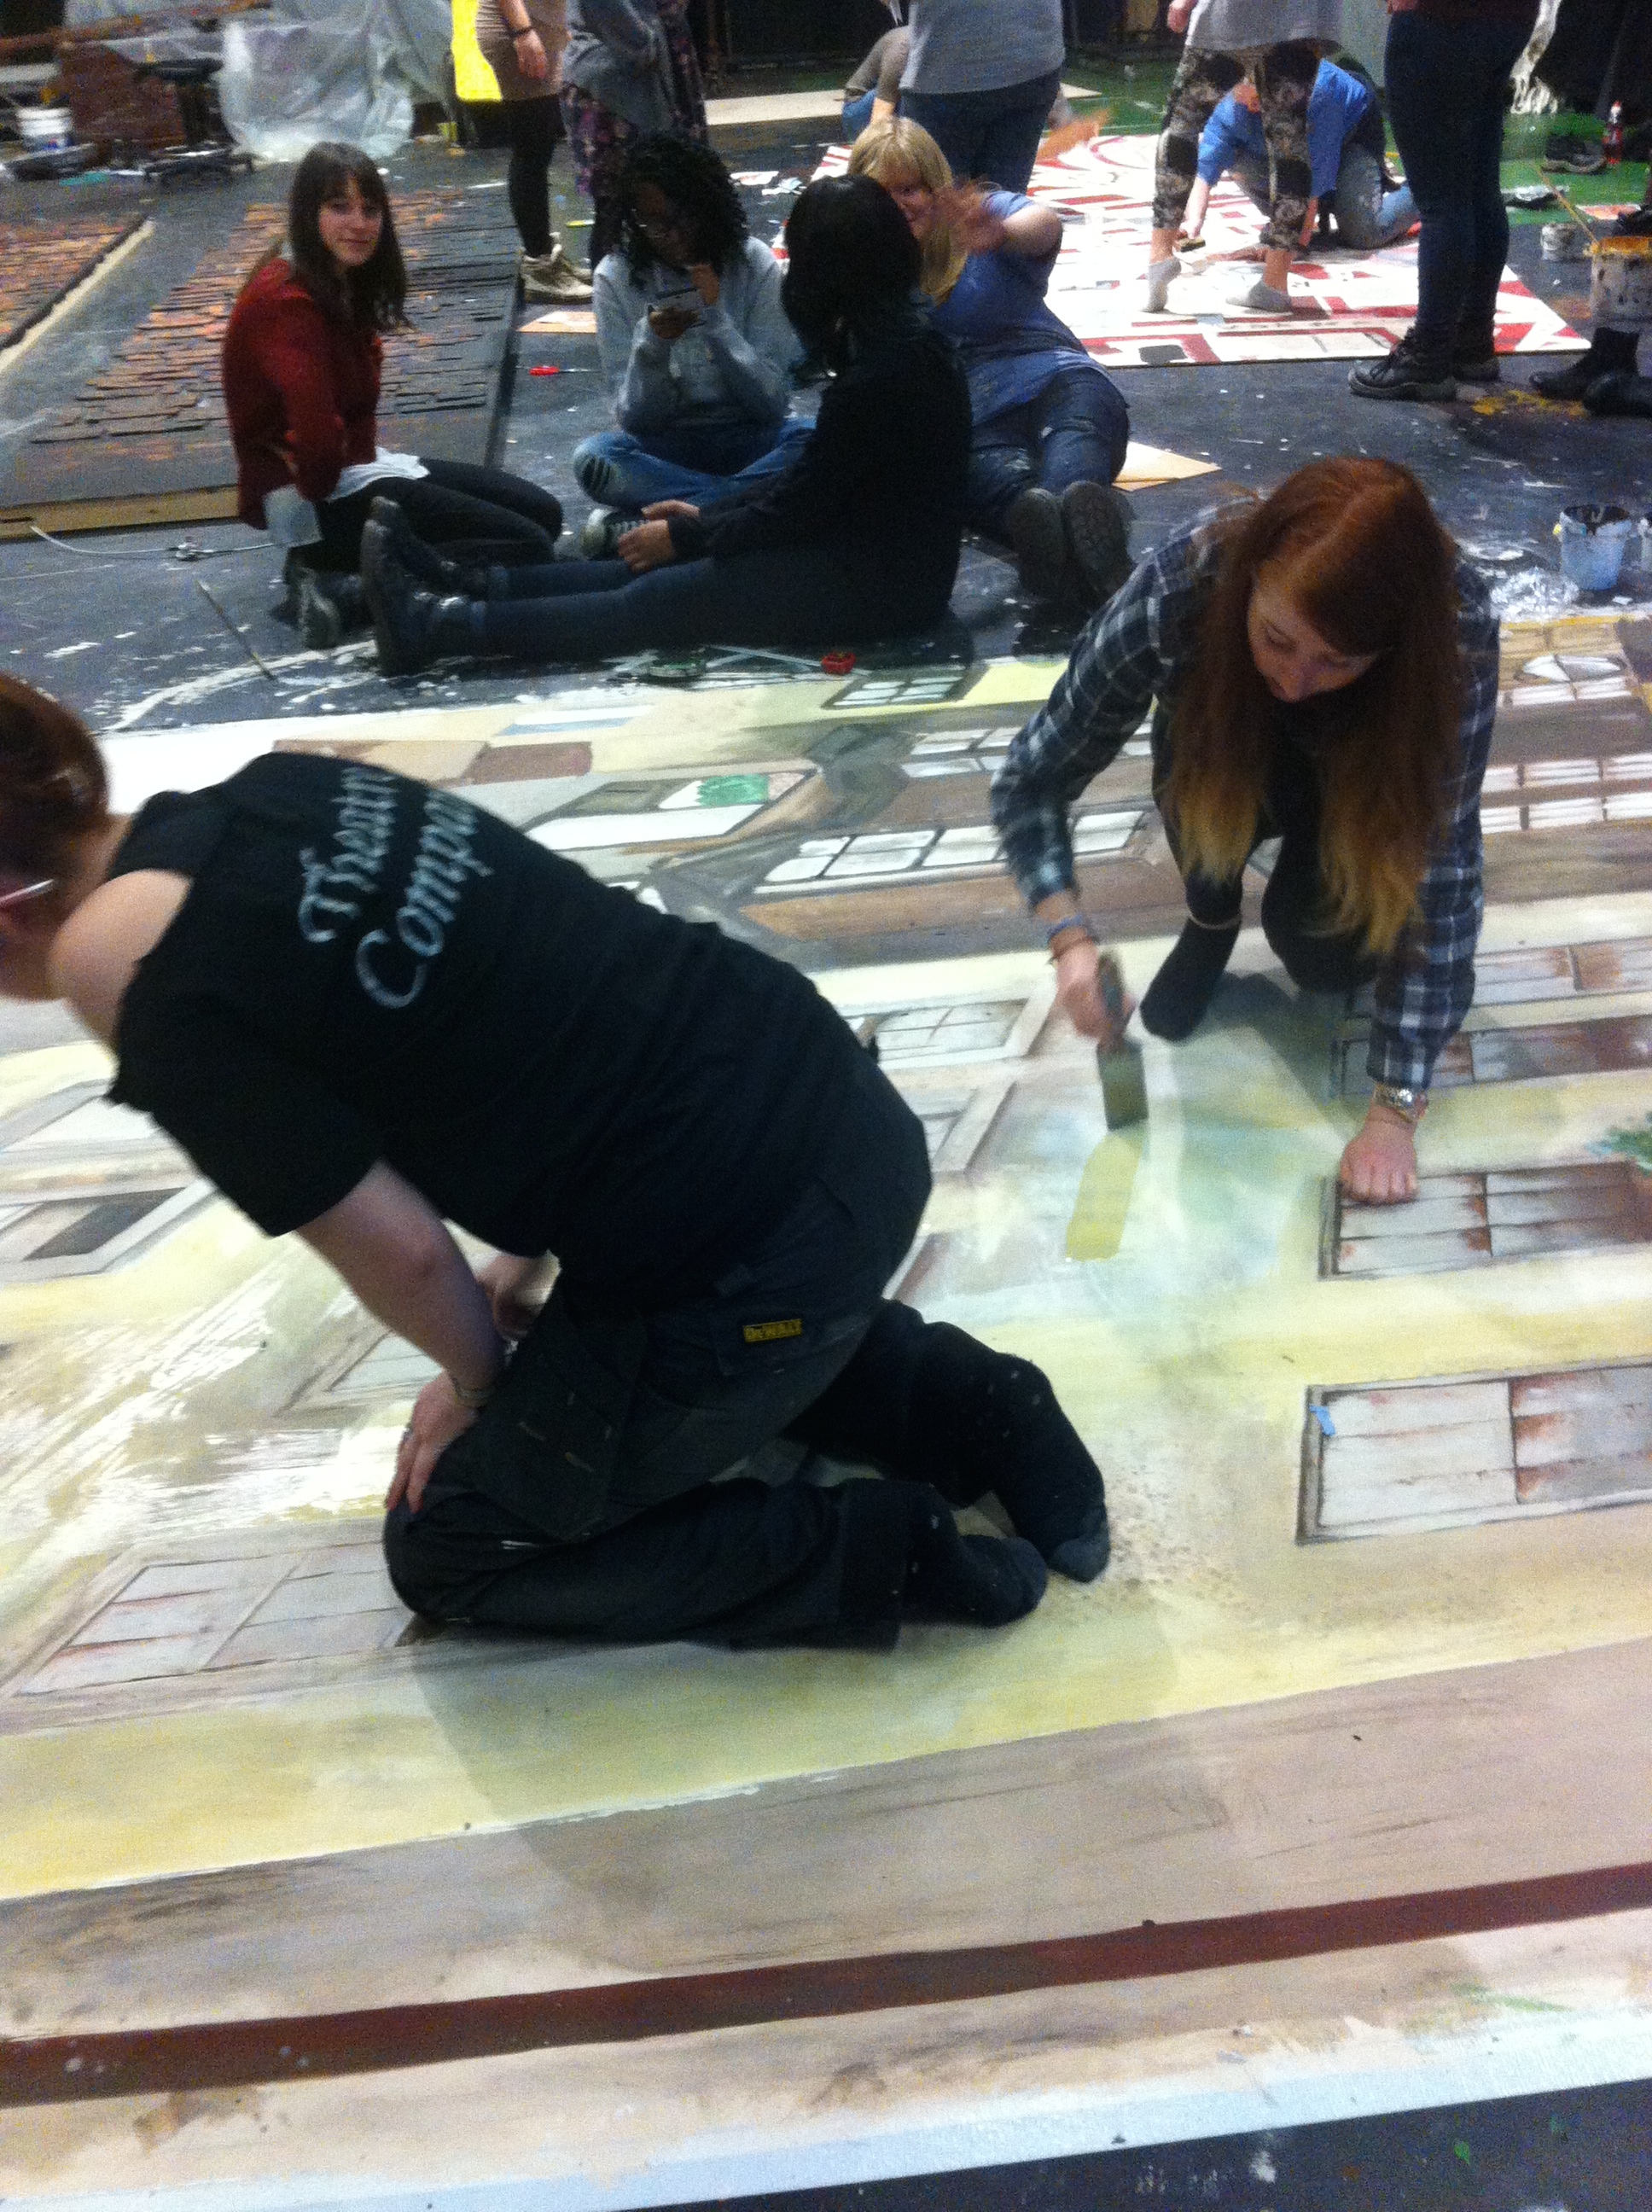
Once this has dried, we were able to begin dividing the canvas into equal squares, which we then did to our reference image too, which was to scale. We used ‘snap tape’ to draw long, straight, parallel lines. Once the canvas had been divided up we were able to draw the actual design onto the canvas, square by square. We were all allocated a square and got to work trying to recreate the scene.
I personally found mixing the colours accurately quite difficult, and needed help from Sandra at times. It was also helpful to share colours with people on connected squares, otherwise there would be a noticeable difference where the lines joined up and this would have looked very unprofessional. Once we had finished I was actually very proud of what we had achieved and even though there were things that could have been improved, it was all part of the learning experience.